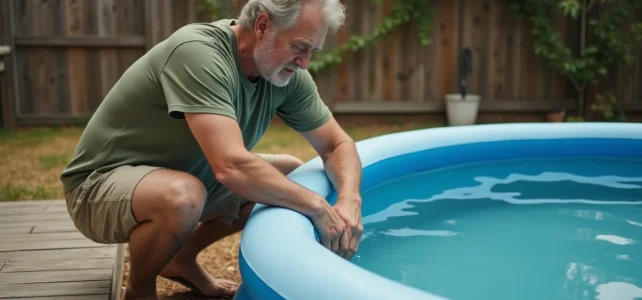
An inflatable pool that tilts puts asymmetric stress on its seams. Hydrostatic pressure concentrates on the lowest side, and the top ring experiences lateral tension for which it is not designed. Before attempting any correction, we recommend assessing the actual imbalance of the pool, as the method of straightening directly depends on the extent of the defect.
Tolerance threshold of the ring and stresses on the seams
A moderate imbalance (a few centimeters of water level difference between two opposite edges) can be corrected without draining. Beyond a level difference of about 10% of the total height of the pool, the risk of sudden rupture of the ring becomes real. The peripheral seams and valves then bear a lateral load that the liner design does not account for.
Recent instructions for inflatable pools remind us that this type of imbalance can cause a sudden tear or the opening of a pressurized valve. If you notice that the water level is flush with the edge of the ring on one side while it remains significantly below on the other, partial (or even total) draining becomes the only safe option.
We observe that the majority of successful interventions without draining concern pools where the tilt remains low, often caused by slight settling of the ground after filling. In these cases, it is entirely possible to straighten a tilting inflatable pool without emptying it by acting on the ground and the base of the pool.
Correction by raising the low side: progressive lifting technique
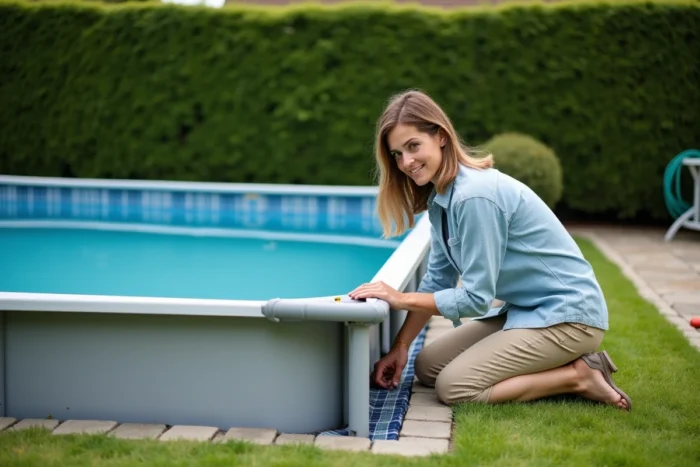
The most reliable method involves raising the ground under the sunken side without moving the pool. It requires at least two people and suitable shimming material.
Preparation of the ground under load
Partially empty the pool (one quarter to one third of the volume) to reduce the mass and pressure on the ground. This partial draining is not a complete drain: it is sufficient to lighten the low side without losing most of the water.
Gently lift the edge of the liner on the sunken side by rolling it inward. Slide in a supply of slightly damp sand under the base, compacted by hand or with the back of a shovel. Damp sand compacts better than dry sand and does not migrate under load once the pool is resting.
Shimming and level checking
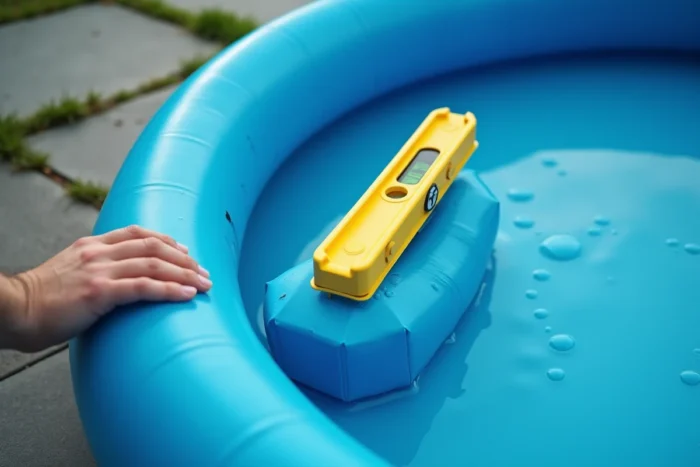
Place a spirit level (or use a smartphone app on a rigid board laid across the ring). Adjust the thickness of sand in successive layers of a few centimeters. Each addition must be compacted before the next to avoid new delayed settling.
Once the pool is resting and the filling is complete, check the water level around the entire perimeter. A residual gap of less than one centimeter is acceptable and does not impose significant stress on the structure.
Alternatives to sand: slabs, mats, and distribution plates
Sand remains the reference material, but certain configurations (terrace, slightly sloped concrete slab) do not allow its use. Several alternatives are worth considering:
- Interlocking EVA foam slabs (like pool floor tiles) can compensate for a height difference by stacking one or two layers under the low side. Their density is sufficient to support the load without crushing, provided a sufficiently dense weight is chosen.
- A custom-cut extruded polystyrene (XPS) board offers good load distribution and easily fits under the ground mat. It resists moisture, unlike classic expanded polystyrene which disintegrates.
- Treated wood wedges, arranged in a fan shape under the mat, work on a concrete slab. We do not recommend raw wood or pallets, which deform in moisture and create uneven pressure points.
In all cases, the shimming material must be covered by the original ground mat. A liner placed directly on a rigid shim risks puncturing under water pressure.
Common mistakes that worsen the tilt of an inflatable pool
Trying to push laterally on a filled pool (even partially) is the most common and destructive reflex. The mass of water generates inertia that deforms the ring and stresses the seams in shear. Never move an inflatable pool containing water.
Another mistake: over-inflating the top ring in the belief that it compensates for the imbalance. An overly hard ring becomes brittle under heat and lateral tension. The inflation pressure recommended by the manufacturer should not be exceeded, even slightly.
We also encounter attempts to shim with unsuitable materials (folded towels, cardboard, uncompacted gravel). These supports settle, decompose, or create roughness that punctures the liner in a few days.
Owner’s responsibility and prior declaration
A often overlooked point: large above-ground inflatable pools, even removable ones, may require a prior declaration of works when their surface exceeds 10 m². This administrative obligation does not disappear because the pool is inflatable.
Moreover, the owner’s liability is engaged in the event of damage related to an installation on unstable or unprepared ground. If a poorly shimmed pool collapses and floods a neighboring property, the insurance may refuse coverage if the installation instructions were not followed. Keeping the provided ground mat, following leveling instructions, and documenting the condition of the ground before installation is a useful precaution in case of disputes.
Straightening an inflatable pool without complete draining remains a feasible operation for moderate imbalances. The key lies in the initial diagnosis: accurately measure the level difference, choose a stable shimming material, and never force the structure under load. Beyond the tolerance threshold of the ring, draining and complete resumption of the ground remain the only reasonable intervention.